
Pie Register offers payment integration with PayPal, Stripe [PRO], and Authorize.net [PRO]. With payment gateways, you can charge membership fees at registration to access your WordPress website. PayPal is included in the free version of Pie Register while Stripe and Authorize.net are available with the PRO version as add-ons.
If you don’t have the PRO version but wish to use Stripe or Authorize.net, you also have the option of purchasing the payment gateway of your choice as a standalone add-on from the Pie Register site.
Please see instructions on how to set up Stripe and Authorize.net.
Setup Payment Gateway
For setting up the Payment Gateway, follow the steps below.
- Login to your blog/site and go to your dashboard.
- In the dashboard’s menu, click on Pie Register > Payment Gateways.
- From the General Settings tab you can setup Payment Success, Payment Failed, Reactivate Account, and Already Active Account messages.

Setup PayPal Standard
Setting up PayPal Standard will require your PayPal Hosted Button ID.
- From the PayPal Standard tab, you can set up the PayPal Standard payment gateway.
- Check Enable PayPal Standard.
- Enter PayPal Hosted Button ID.
- Select PayPal Mode; Sandbox or Live.
- Click Save Changes to finish setting up PayPal Standard.
Adding Membership Field in the Registration Form
- Then, navigate to Manage Forms and edit the Registration Form.
- Under Advanced Fields, add the Membership Field in the Registration Form.
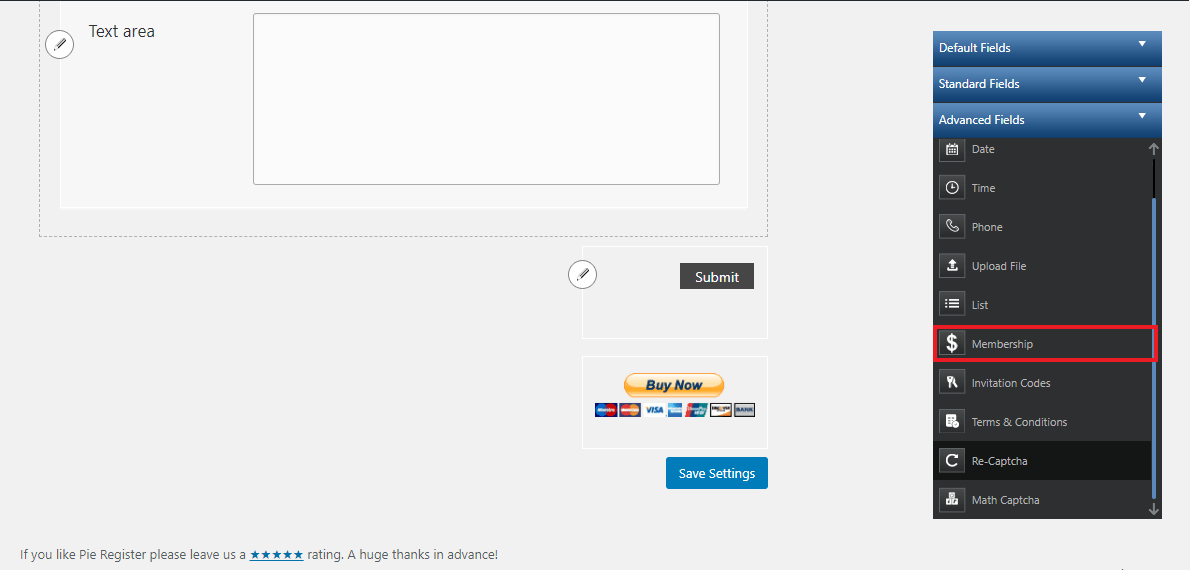
- Click Save Changes.
- Edit the Membership Field to select ‘Paypal’ as the payment gateway.
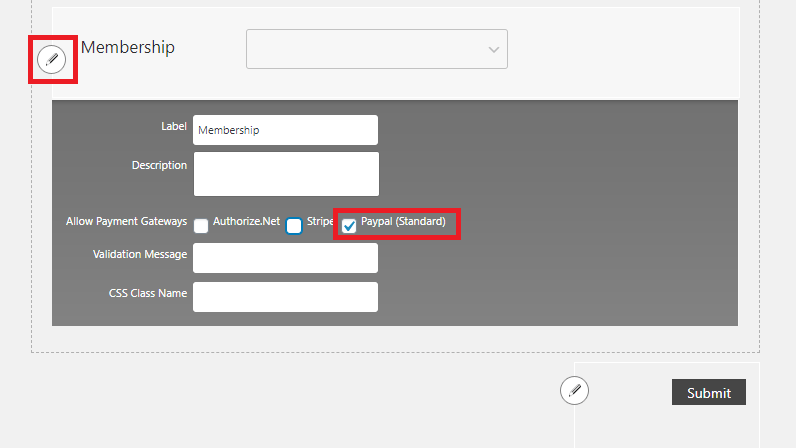
- Click Save Changes.
Admins can also streamline PayPal subscription process. PayPal Subscriptions Add-on allows you to set up subscriptions and take recurring payments.