With the Pie Register Social Login add-on, users can sign in to the site via their Facebook, Twitter, Google, and LinkedIn, Yahoo, or WordPress account credentials. Admin can set this up using social login Shortcodes.
Social Login Shortcode
Social Login Shortcode allows for easy integration of the social login feature. Once the Social Login feature is set up, use the shortcode [pie_register_social_login] on any page to integrate social login buttons.
General Settings
Setting up a social login general setting is the first stage.
- Login to your blog/site and go to your dashboard.
- In the dashboard’s menu, click on Pie Register > Social Login.
- Click on the General Settings tab.
Select Form
- Select if you want to connect the socially connected users with a form and then choose your desired form (Premium).
- Users logging in with a form selected for them can go to Edit Profile to fill the remaining fields.

Icon Style
- Select Icon Style.
![]()
- For the second style, you get to select from 4 different sets of sizes.
- For the third style, you can provide your own images, sizes, and alignment.
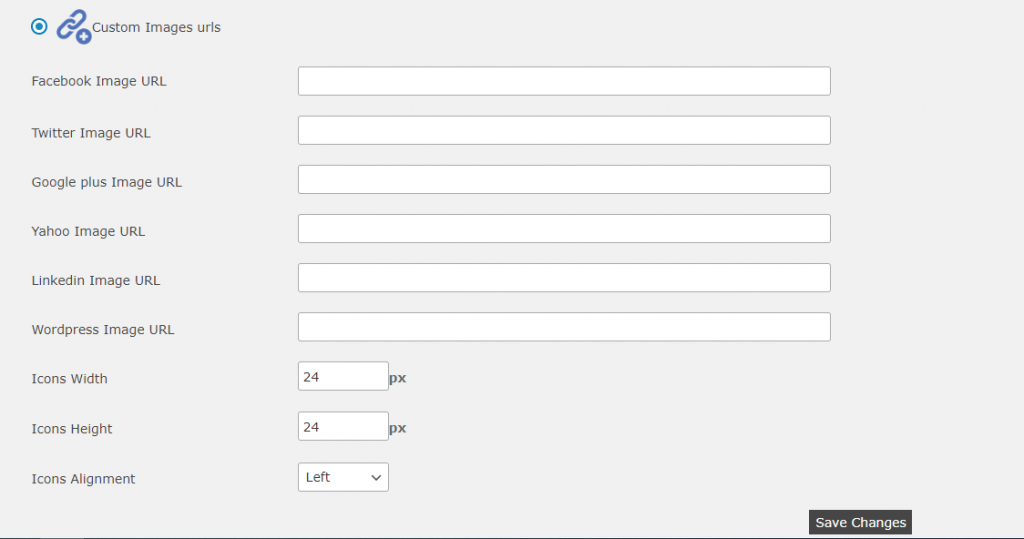
- Click Save Changes.
Login via Facebook
Here is how you can set up a login via Facebook.
- Click on Pie Register > Social Login.
- Click on the Facebook tab.
- Check Enable Facebook.
- Sign in to your Facebook Developer Account.
- In the navigation bar, click on get started (if you’re new) or My Apps > Create App
- Fill the ‘Display Name’ and click on Create App ID.
- On the menu at the left, select Settings > Basic.
- Copy the ”App ID” & “App Secret” and paste it in the Pie-Register Facebook settings tab.
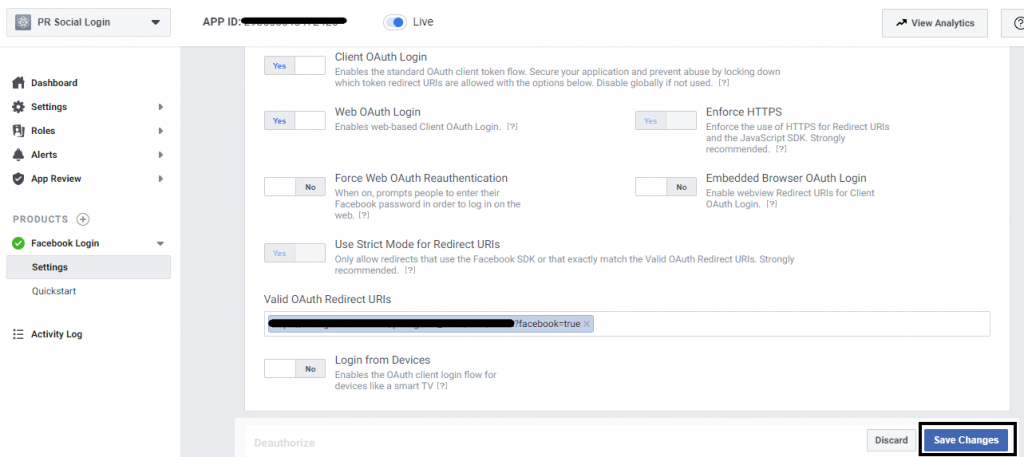
- Switch on the Live mode.

- Under Products, on the left menu, click on Facebook Login > Settings.
- Fill in the Valid OAuth Redirect URIs field with http://example.com?facebook=true (replace example.com with your WordPress install URL).
- Finally, Save Changes.
- Click Save Changes in the Pie-Register Facebook settings tab.

Login via Twitter
Here is how you can set up a login via Twitter.
- Click on Pie Register > Social Login.
- Click on the Twitter tab.
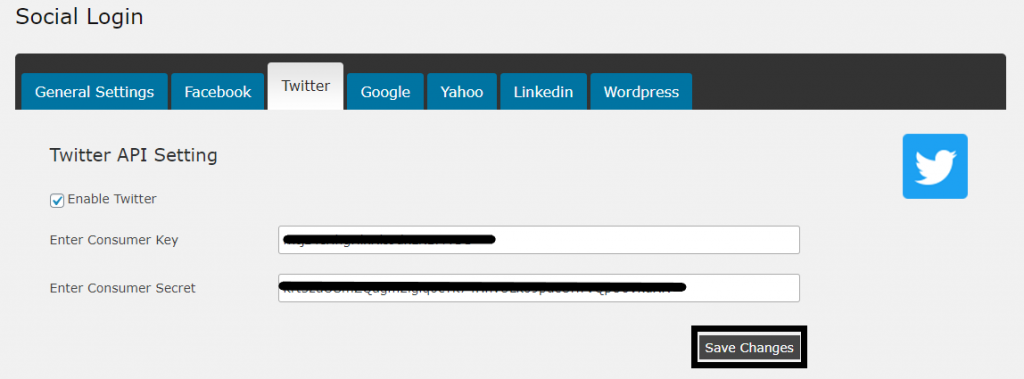
- Check Enable Twitter.
- Sign in to your Twitter Developer Account.
- Click on Apps in the navigation bar.
- Click on Create an App

- Fill in your application details.
- Fill in the Callback URL field with http://example.com (replace example.com with your WordPress install URL).
- Click the create your Twitter Application button.
- Create your Access Token.
- Choose the Access type you need.

- Under the Keys and tokens tab, copy the “API key” and “API secret key”.
- Enter it in the Pie-Register Twitter settings tab.
- Click Save Changes.
Login via Google
Here is how you can set up login via Google.
- Click on Pie Register > Social Login.
- Click on the Google tab.
- Check Enable Google.
- Sign in to your Google Developer Account.
- From Developer Consoles, select Google API Console.
- Click on New Project and create a new project.
- After creating a project you’ll be redirected to the dashboard, go to the Credentials tab.
- Select Create Credentials and then select OAuth client ID from the drop-down menu.

- Fill in the details.
- Under Authorized redirect URIs, type in the following URL http://example.com?google=true (where example.com will be your WordPress install URL)

- Finally, click Create.
- Once you have “Client ID” & “Client Secret”, enter it in the fields.
- Click Save Changes in the Pie-Register Google settings tab.

Login via Yahoo
Here is how you can set up a login via Yahoo.
- Click on Pie Register > Social Login.
- Click on the Yahoo tab.
- Check Enable Yahoo.
- Sign in to your Yahoo Developer Account.
- From the Navigation bar, select Apps > Create an App.

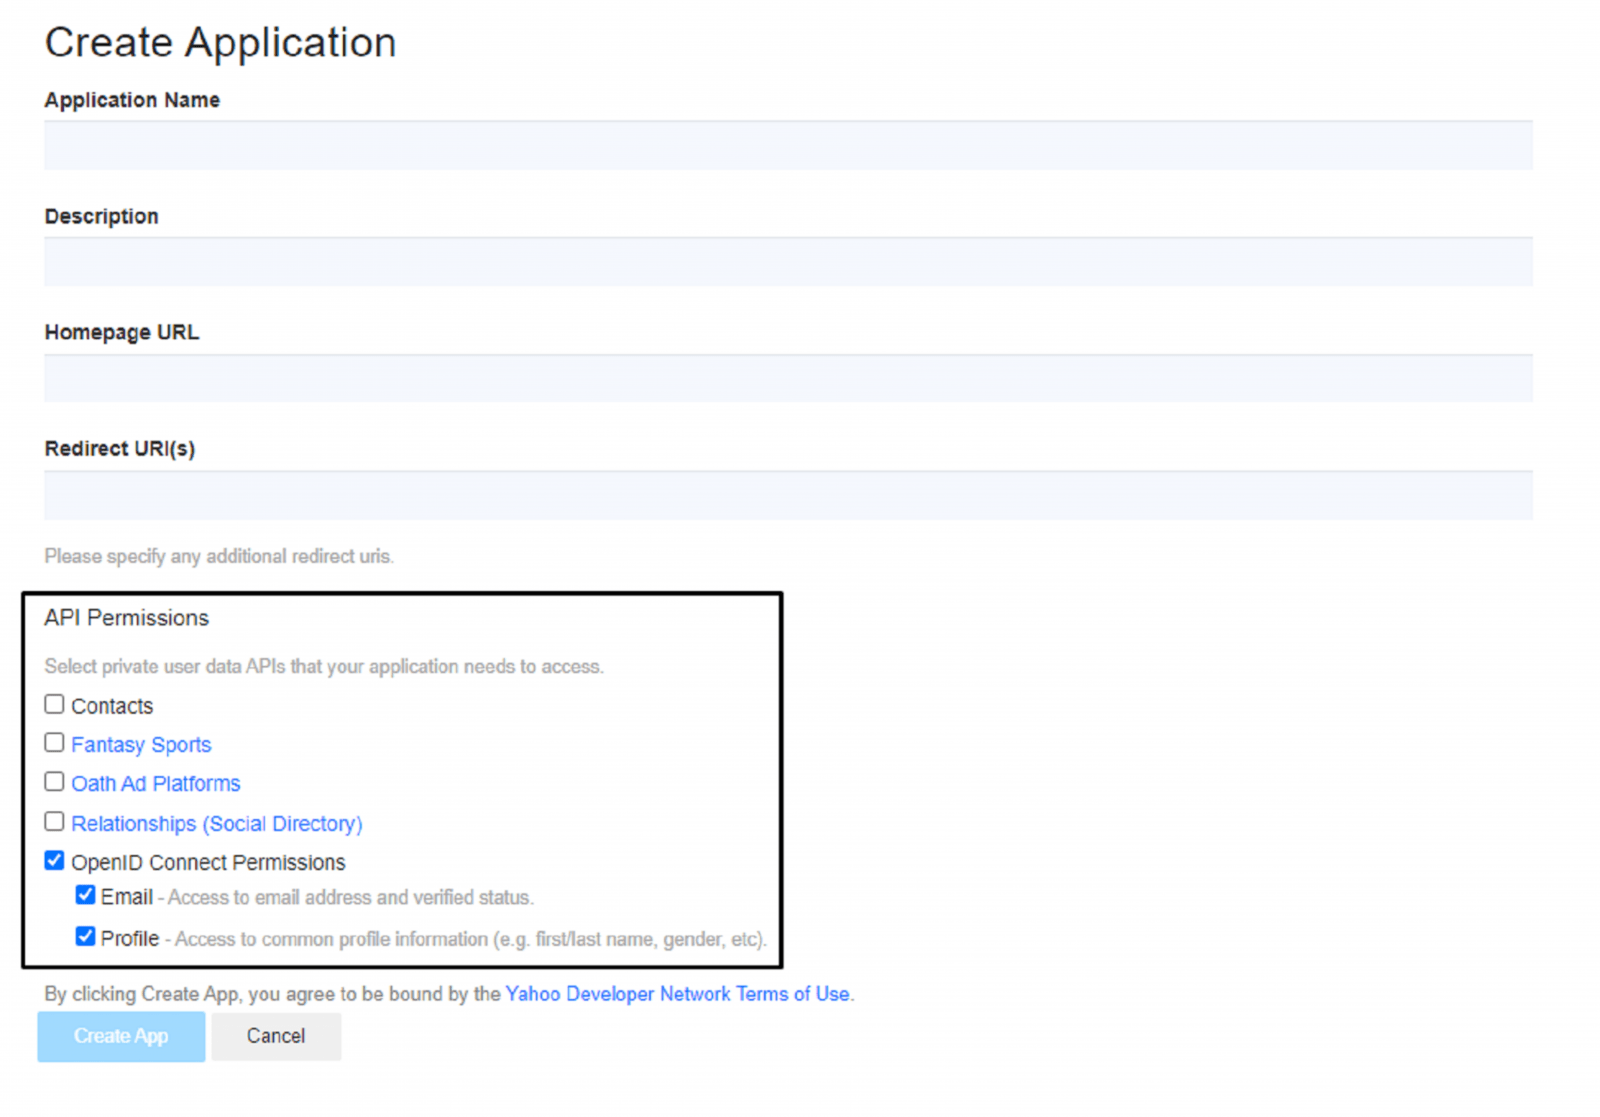
- Fill in your application details.
- Fill in the “Redirect URI(s)” field with http://example.com (replace example.com with your WordPress install URL).
- Select the provided API Permissions and then click Create App.
- Copy the “Client ID” & “Client Secret” and paste it in the Pie-Register Yahoo settings tab.


- Click Save Changes.
Login via LinkedIn
Here is how you can set up a login via LinkedIn.
- Click on Pie Register > Social Login.
- Click on the LinkedIn tab.
- Check Enable LinkedIn.
- Sign in to your LinkedIn Developer Account.
- From the Navigation bar, select My Apps > Create App.
- Fill in the fields and then click Create App.
- Select the app you just created.
- Navigate to the Auth section.
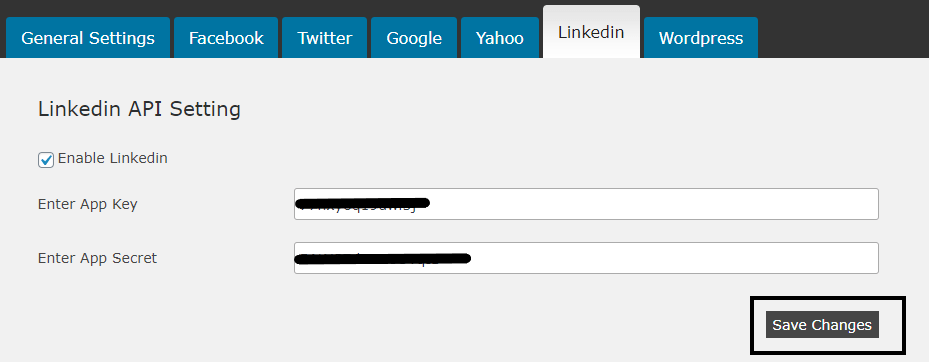
- Copy the “Client ID” & “Client Secret” and paste it in the Pie-Register LinkedIn settings tab.
- Edit the “Redirect URLs” field with http://example.com?linkedin=true (replace com with your WordPress install URL)

- Click Update.
- Navigate to the Products section.
- Select “Share on Linkedin” and “Sign In with Linkedin”.

- Click Save Changes in the Pie-Register Google settings tab.
Login via WordPress
Here is how you can set up a login via WordPress.
- Click on Pie Register > Social Login.
- Click on the WordPress tab.
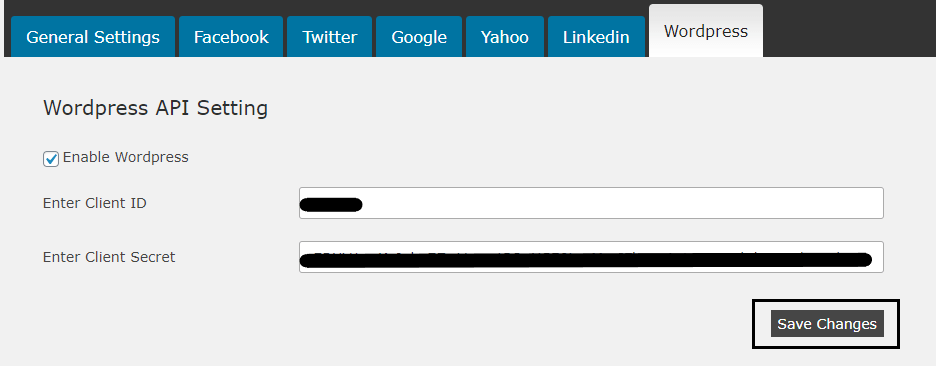
- Check Enable WordPress.
- Sign in to your Wordpress Developer Account.
- Select My Apps in the Navigation bar.
- Click on Create New Applications.
- Fill in your Application details.
- In the “Redirect URLs” field, type in the following URL http://example.com?wordpress=true (where example.com will be your WordPress install URL)
- Open your newly created app from the “My Apps” page.

- Copy “Client ID” & “Client Secret” and paste it in the Pie-Register WordPress settings tab.
- Click Save Changes.
