
Are you tired of composing customized emails for everyone? Well, Pie Register has got you covered!
By adding the Bulk Email add-on by Pie Register, you can design and send a single email to all the registered members of a specific form.
The emails can be sent right away or saved as a draft for later use. You can schedule them as well according to the user’s optimal time.
Now the elephant in the room is how to use the Bulk-Email add-on? Here we will explain how to download, navigate and use the Bulk Email add-on to your satisfaction. So without further ado, let’s jump into it.
How To Use The Bulk Email Add-On
Installation
If you are new to Pie Register, you may want to take a look at How to Install and Activate the Add-ons in Pie Register.
If you are using Pie Register Premium, all features and add-ons are part of the package and you can simply activate the Bulk Email add-on from the list of plugins. Then under the Help > Licence Tab, click the activate button.
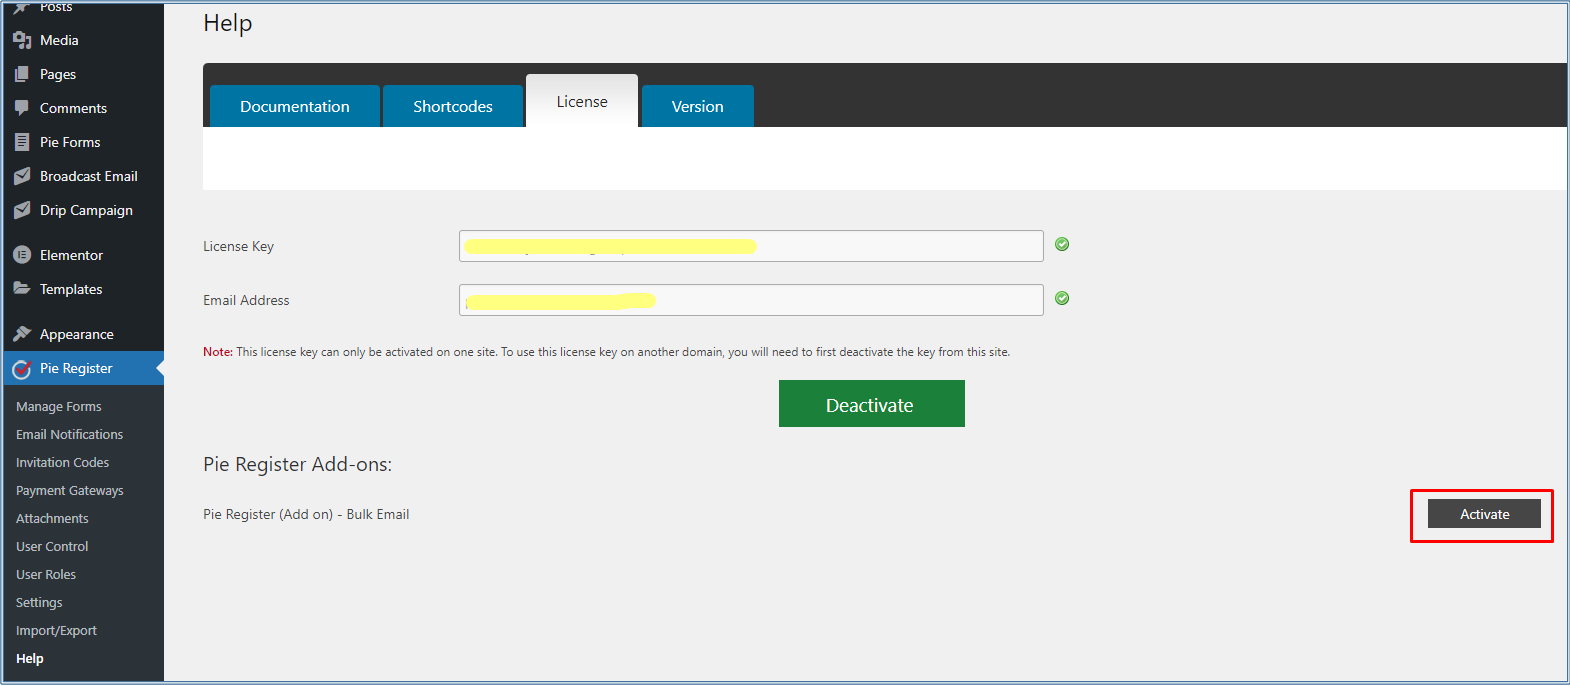
If you are a Pie Register Basic user, you can buy the Bulk Email add-on separately. Just activate the add-on from the list of plugins and then add the License key and Email-address under the Help > Licence Tab. Click on the Activate button.

Finding Bulk E-Mail
The next step is to locate the Bulk E-Mail add-on to use it.
- Hover your mouse over the Pie Register option on the sidebar of the WordPress dashboard.
- A drag down will appear, where you will find the Bulk Email option.

- Click on it to open the page.
Crafting Email
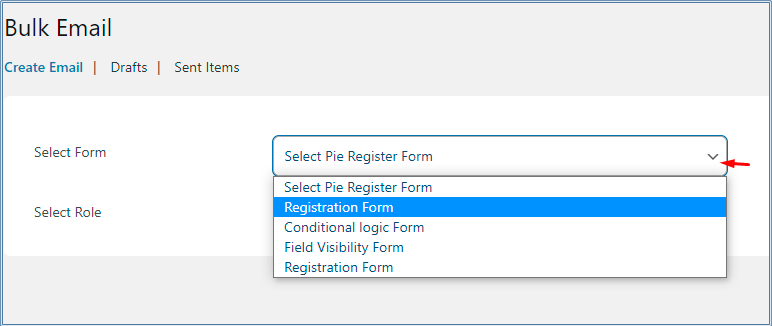
From the Bulk Email page, you can Create Emails, view the Draft and Sent items.
- Create an email you want to send to the registered users.
- On the Select Form option, select the form whose recipients will be receiving the bulk email by choosing the form from the drop down.
- Next, select the group of members you want to send the email to.

- After selecting the group of users, several other options will appear on the screen.
- Fill in the From name. The name you choose will be the name of the mail.
- Next, write the email address you want to send the forms from.
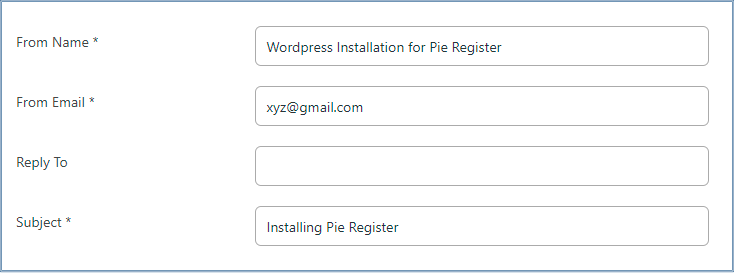
- Write the subject of your email and compose your email in the Message box.
- The subject field and the message box also have some tags that you can use at your convenience. Just simply copy those tags and paste them into the message box or subject field to implement them in your document.

Scheduling Email
Bulk Email add-on provides us with the option of scheduling our emails and setting up the date and time we want our bulk emails to be sent out.
Below the message box, you will find another field labeled as Schedule Email. Here you can select the date and time you want your emails to be sent out and then press Submit.

- After clicking on the Submit button, your email will be saved in the Drafts option till its scheduled time.
- You can edit and delete your email while it is in the Drafts tab.

- After the email has been sent out, you can view it in the Sent items tab, where you will find the option to duplicate and delete your email.

Wrapping Up
That’s it! Now you know how to use the Pie Register Bulk Email add-on. We hope this article was helpful. If you have any queries, feel free to contact us!