
Do you have an exclusive website that needs membership fees for the users to access the content?
With Pie Register, you can integrate multiple payment gateways and allow your users to pay the membership fees via their credit card. This tutorial will show you how to configure the payment gateway settings and add the membership field to your registration form in Pie Register.
Payment Gateway Settings:
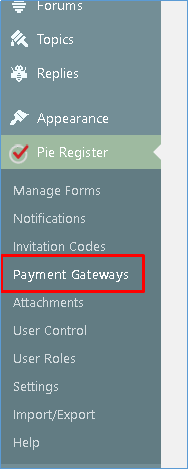
- Login to your WordPress Admin Dashboard and go to Pie Register > Payment Gateways.
- Pie Register’s Basic plan includes the PayPal Payment Gateway. To configure the setting for the Paypal Account, click on the PayPal Tab in Payment Gateways.

- Click on the checkbox to enable this payment gateway and add the PayPal Hosted Button ID. Select the Mode and save.
Premium Payment Gateways:
- Apart from PayPal, Pie Register offers two additional payment gateways: Authorize.NET and Stripe, to its premium users to ensure safe and secure payment transactions. Both the gateways are available as part of the Professional plan. For more details, check the plan and pricing.
- Once the add-ons are installed and activated, they will be added as tabs in the payment gateways.


- Enable the gateway and configure the settings. Save changes.
Note: Instructions to set up the respective payment gateway accounts are added in each tab below the settings.
Adding the Membership Field to the Registration Form:
- Create a new form or edit an existing one.
- From the Advanced fields tab, add the Membership field to your form.

- Click on the edit button and change the required settings. Save the changes.

A dropdown field will be added to the registration form with the enabled payment methods. The user can select their payment gateway and enter the required data to proceed with the membership payment.

Are you still using Pie Register Basic? Upgrade to Professional Plan to enjoy all the amazing features and add-ons.
Messages for Account and Payment Action:
From the General Settings tab of Payment Gateways, set up the messages displayed to the user for various actions. Save the changes.

Payment Log:
To access the payment log, go to Payment Gateways > Payment log.

That’s it. Was this article helpful?